
This page is still under construction.
This page assumes that you are already familiar with the techniques described on the Quarterstaff skills page. Here we are concerned only with recording those movements as choreography.
Fortunately, very little changes from the notation system we have already used for the single sword. The numbers still show the order of the moves, a plus sign still indicates an attack, and a minus sign still indicates a defense. As before, every diagram is written from the actor’s own point of view. The left side of your diagram is always your left, and the right side is always your right.
The quarterstaff diagram
The five-part sword diagram does not give us enough room for the additional lines available to the quarterstaff. Instead, we use a simple nine-part grid.
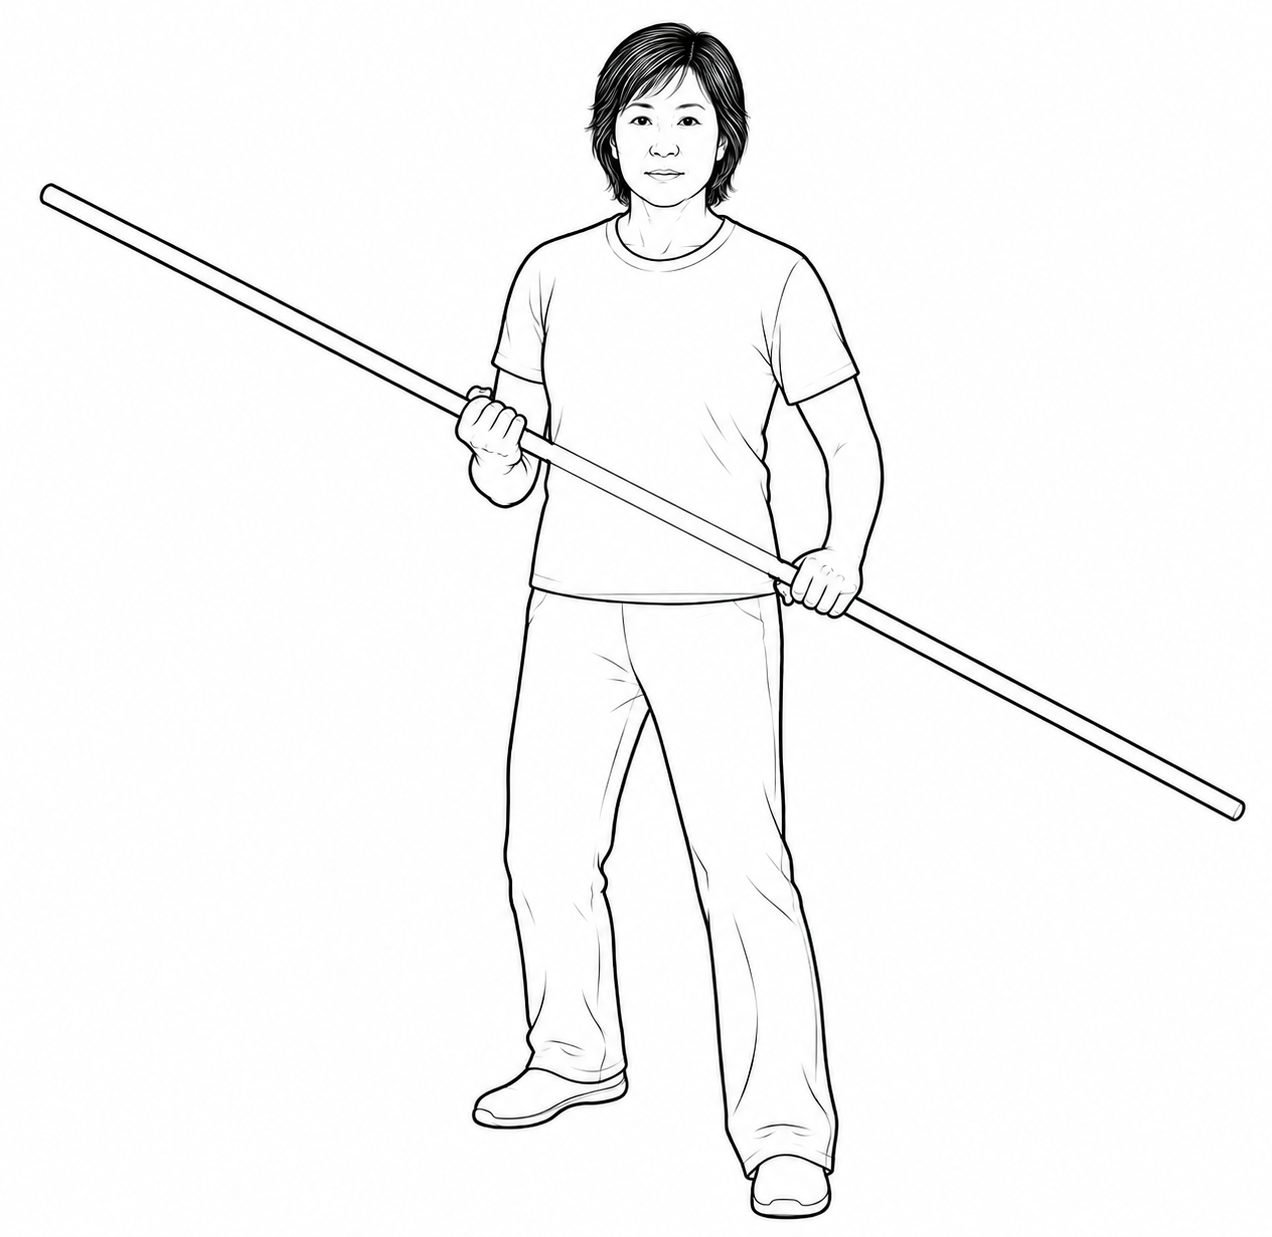
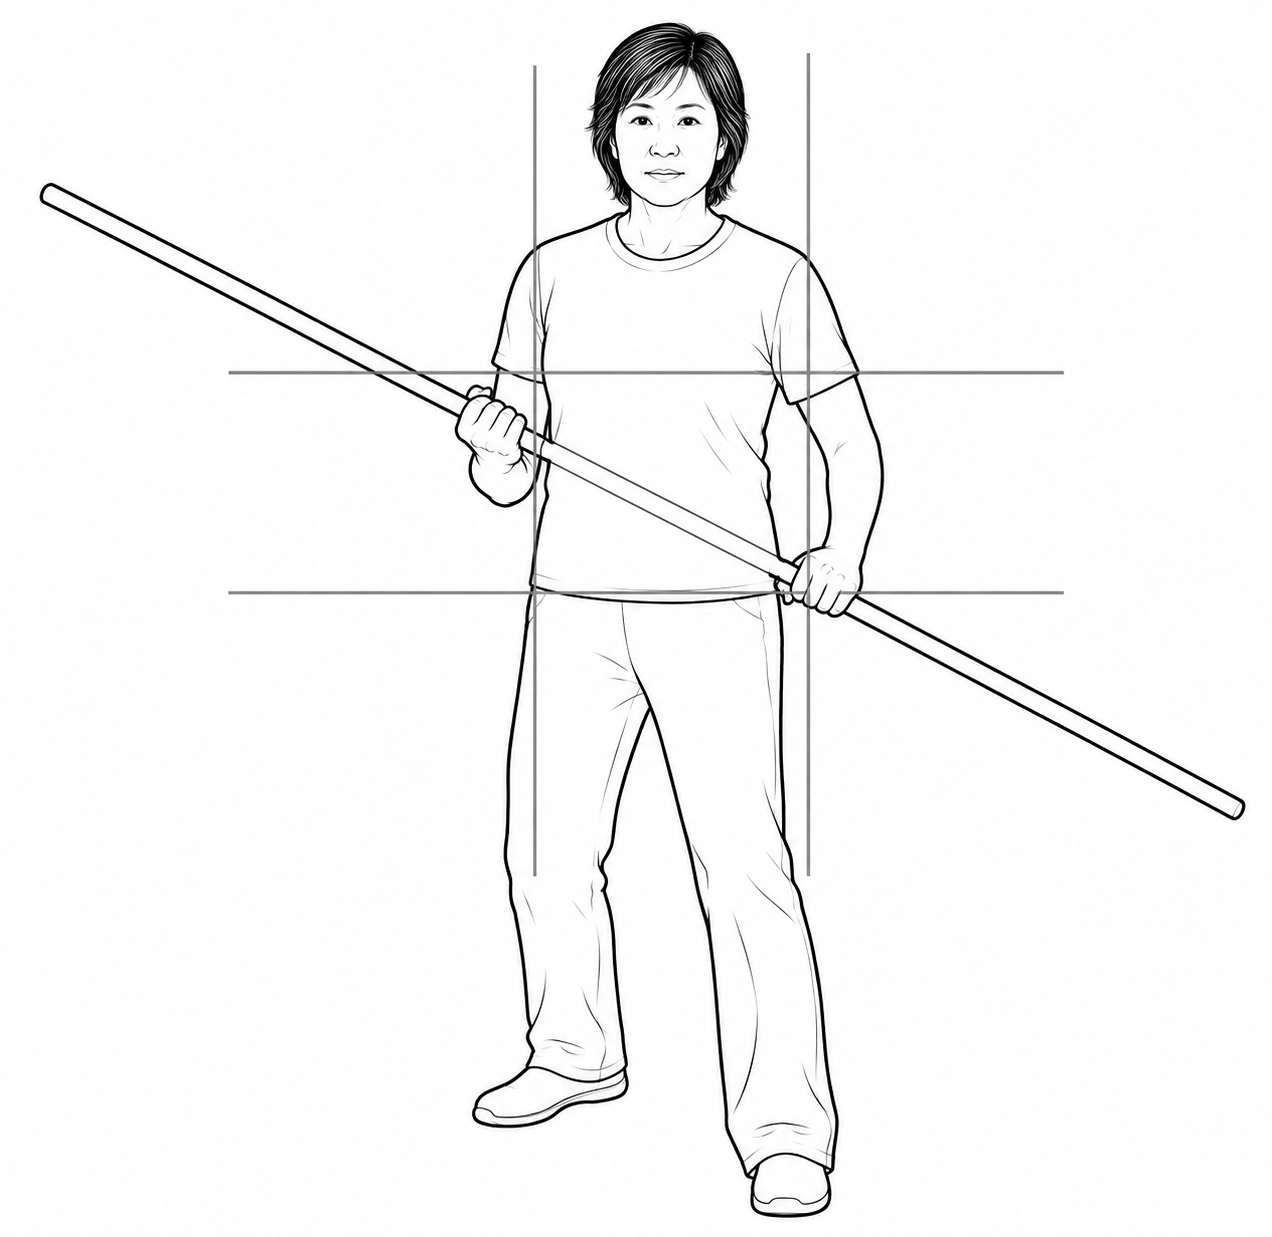
The upper center space represents a cut to the head, while the lower center space represents an upward scoop, as though to the crotch. The spaces directly to the left and right represent the two flank lines. The four corners represent the four diagonal lines: left and right high, and left and right low. The center space is reserved for actions outside ordinary quarterstaff attacks and defenses, such as a punch, kick, trip, or other payoff move.
For a cut, the position of the number identifies the line of the attack: head, scoop (low), flank, or diagonal (high). For a thrust, it identifies the intended target. The upper corners represent the shoulders, the side spaces represent the flanks, and the lower corners represent the thighs. The center space can be used for a direct body action or for something outside ordinary quarterstaff work, such as a punch, kick, trip, or other payoff move.
As always, these directions are selfish. They describe what you see from where you are standing, not your partner’s anatomical right or left.
Reading the symbols
The notation has been reduced to the minimum needed to record the phrase:
- The number tells you when the action occurs.
- Its position on the grid tells you the line of the action.
- + means that you attack.
- − means that you defend.
Unless otherwise indicated, every attack is assumed to be a cut. Cuts are much more common in quarterstaff choreography, so there is no reason to mark each one individually.
The occasional thrust is marked with a T beside the attacking number. Therefore, +5T means that move five is a thrust. The matching defense is still written simply as −5. A defense against a thrust is performed in the same way as a defense against a cut arriving on that line, so the defender needs no additional letter.
We do not record which hand moves, how the staff is gripped, whether the action is performed in shortform or longform, or what the feet are doing. Those details are learned when the choreography is taught. The purpose of the diagram is to preserve the combat phrase, not every physical detail involved in performing it.
Adding a bind
Occasionally, the staffs remain in contact after an attack and defense and continue directly into a bind. This can be shown with a simple curved arrow immediately after the number. The direction of the arrow shows the direction in which the staffs travel and how far.
A bind does not receive its own number. Because it grows out of the contact created by the preceding attack and defense, it is shown by a curved arrow following that move’s number. Any new attack emerging from the bind receives the next number in the sequence.
Because each diagram is drawn from that actor’s point of view, the two curved arrows will appear to travel in opposite directions. They are nevertheless describing the same physical bind.
A seven-move phrase
Here is a simple seven-move phrase using the notation we have just described:
- A cuts on the right flank line. B defends on the left flank line.
- A cuts on the left high diagonal. B defends on the right high diagonal.
- B cuts to the head. A defends the head.
- B cuts on the right low diagonal. A defends on the left low diagonal.
- A thrusts toward the target on A’s right flank. B defends on the left flank line.
- A cuts on the left low diagonal. B defends on the right low diagonal, and the staffs continue directly into a bind.
- B cuts on the left flank line. A defends on the right flank line.
Written separately, the two actors’ parts look like this:
Actor A
- +1 — right flank cut
- +2 — left high diagonal cut
- −3 — head defense
- −4 — left low diagonal defense
- +5T — thrust to the right flank
- +6 with curved arrow — left low diagonal cut continuing into the bind
- −7 — right flank defense
Actor B
- −1 — left flank defense
- −2 — right high diagonal defense
- +3 — head cut
- +4 — right low diagonal cut
- −5 — left flank defense
- −6 with the corresponding curved arrow — right low diagonal defense continuing into the bind
- +7 — left flank cut
[Illustration: Completed diagrams for Actors A and B, shown side by side.]
The two diagrams describe exactly the same fight, but each is written from the viewpoint of the actor who will use it. Every attack on one diagram has a corresponding defense on the other, and the left and right lines are reversed.
[Video: The complete seven-move phrase, shown in a wide three-quarter view beside the two completed diagrams.]