
The following is a completely arbitrary sequence of attacks and defenses:
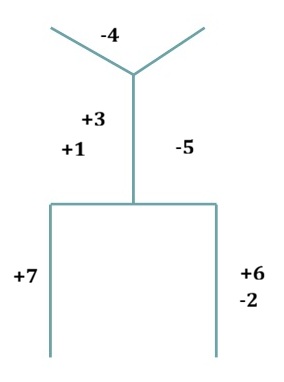
Each mark on the figure gives you three pieces of information:
- The number tells you when the move occurs.
- The plus or minus sign tells you what kind of move it is: “+” means attack and “−” means defense.
- The position of the number on the figure tells you where the move occurs.
The number itself has nothing to do with the location of the move. It does not matter that “3” is higher than “1” on the page. Both numbers appear beside the same line of the figure, so both moves go to the same target: the left high line, or your partner’s right shoulder.
Slowly go through the motions shown on the filled-in figure. If you are still unsure about the mechanics of sword work, don’t worry. For now, if the number has a “+,” simply extend your arm and point toward the target. If it has a “−,” bend your elbow and bring your hand back toward your own body.
We would therefore describe your seven moves like this:
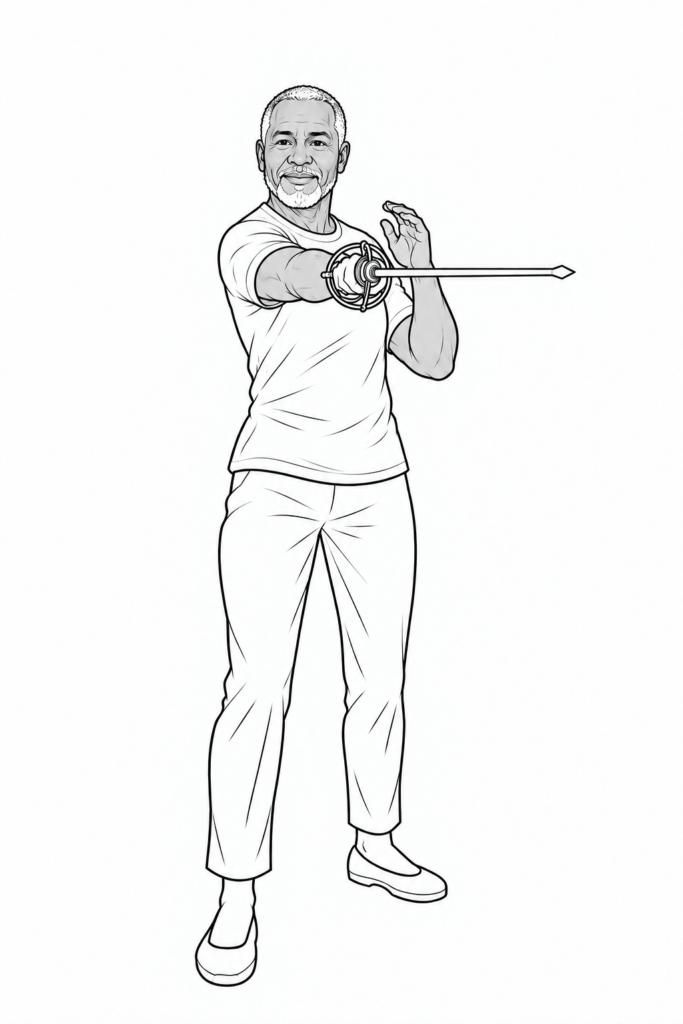
- attack to the left high line (your partner’s right)
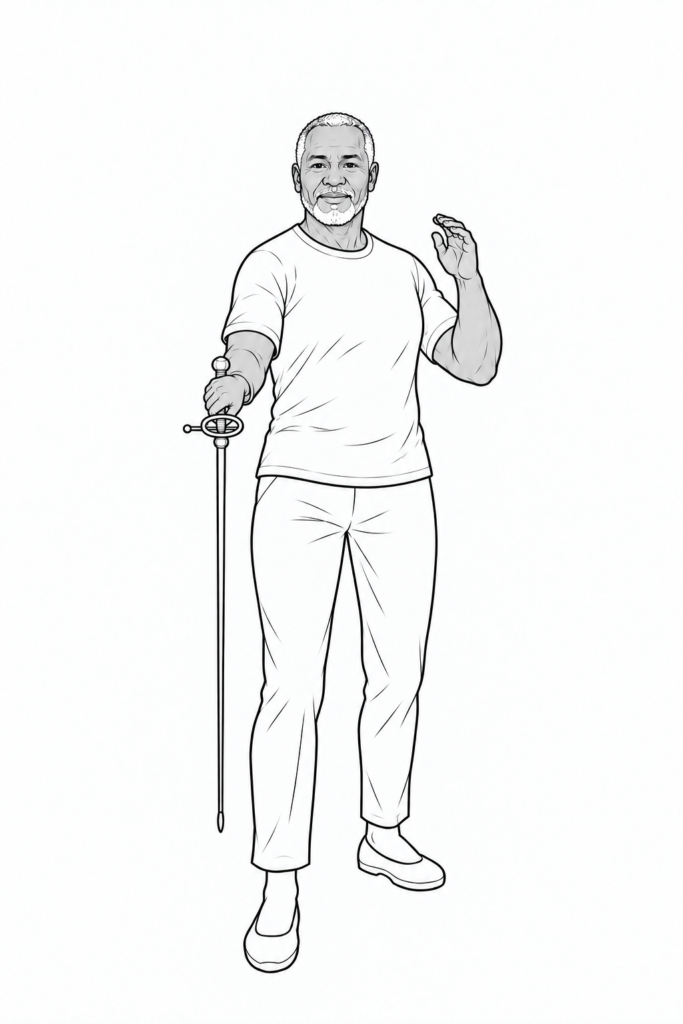
- parry an attack to your right low line
- attack to the left high line (your partner’s right)
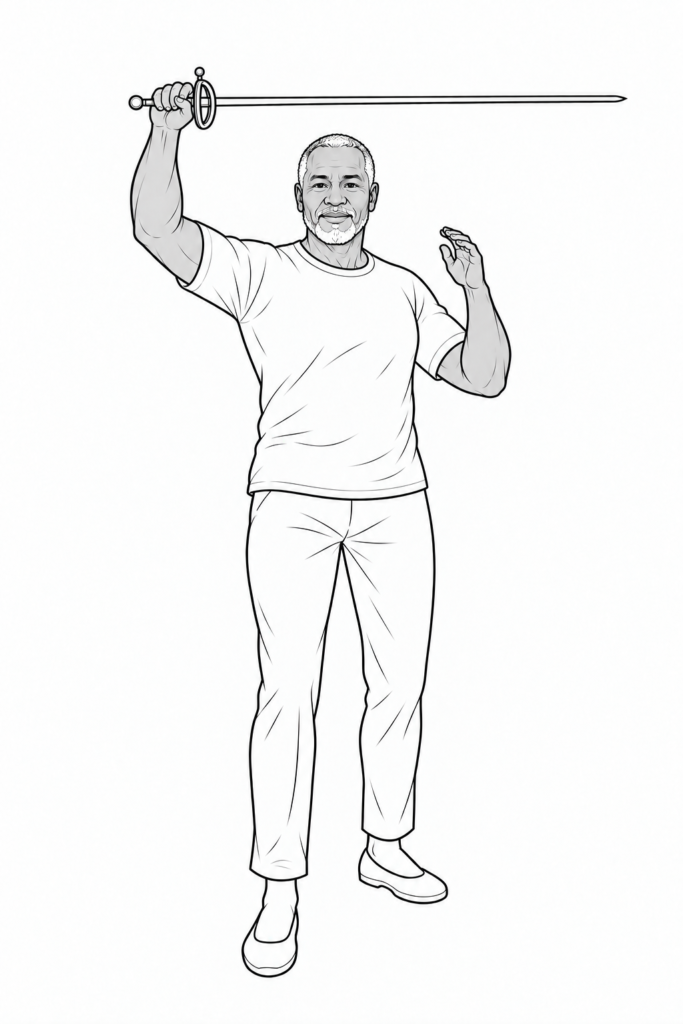
- block a vertical cut to your head
- parry an attack to your right high line
- attack to the right low line (your partner’s left)
- attack to the left low line (your partner’s right)
And they would look something like this:
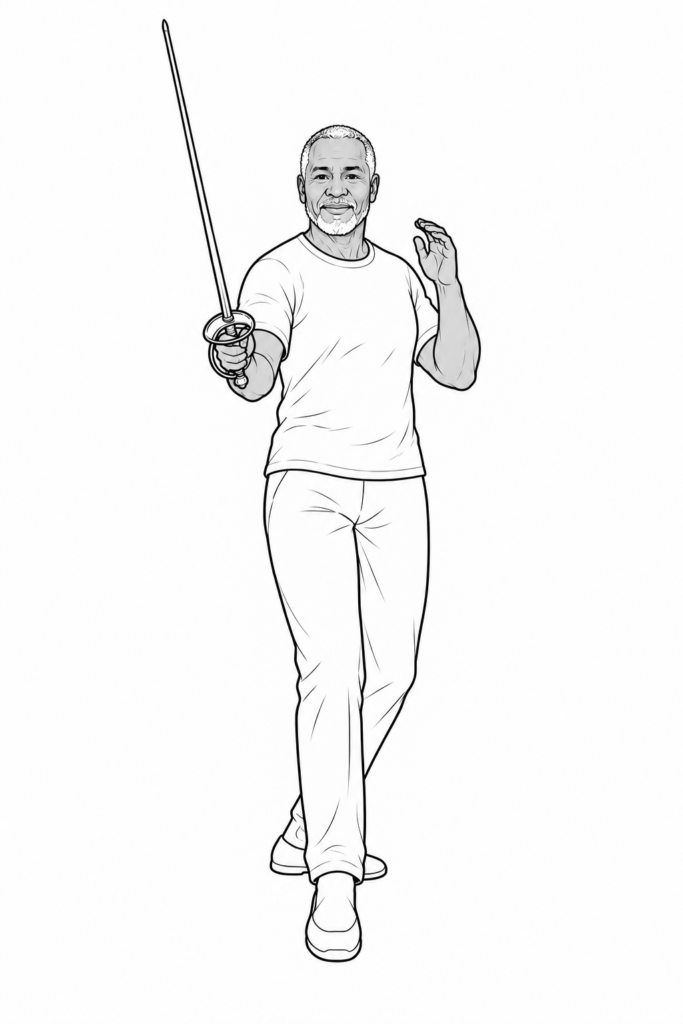
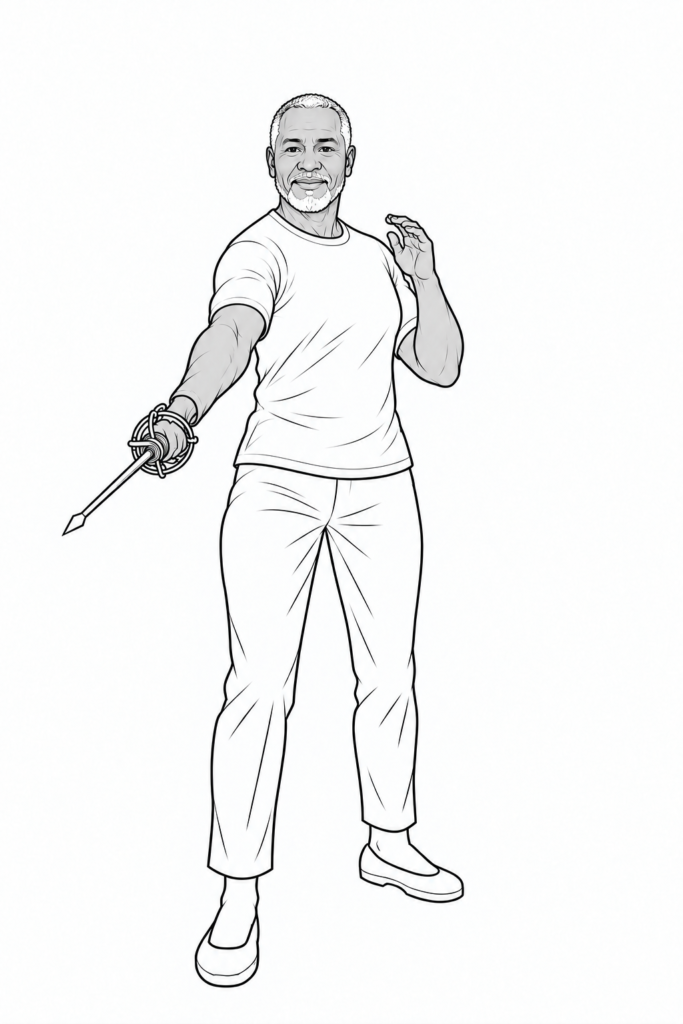
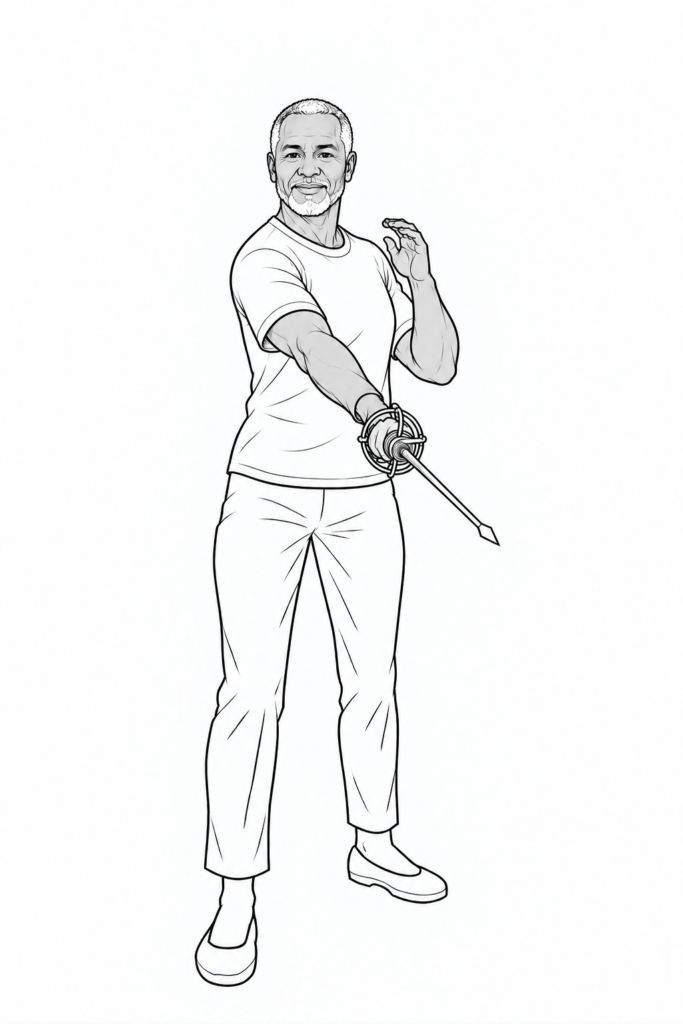
While you perform those seven moves, your partner performs seven matching moves. Imagine doing your moves while watching your partner do this:
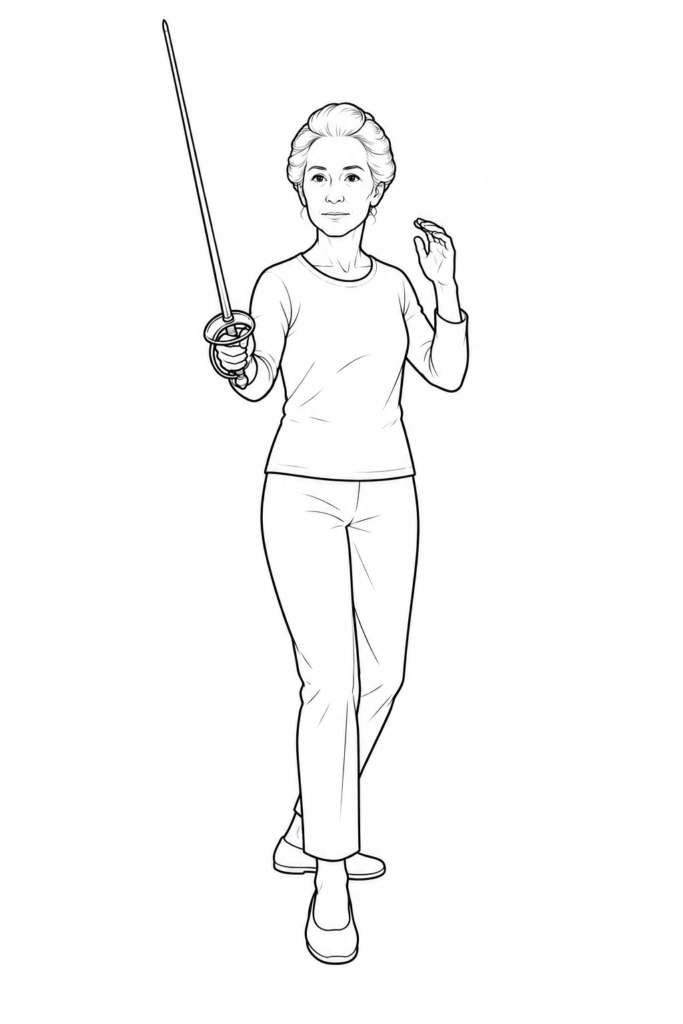
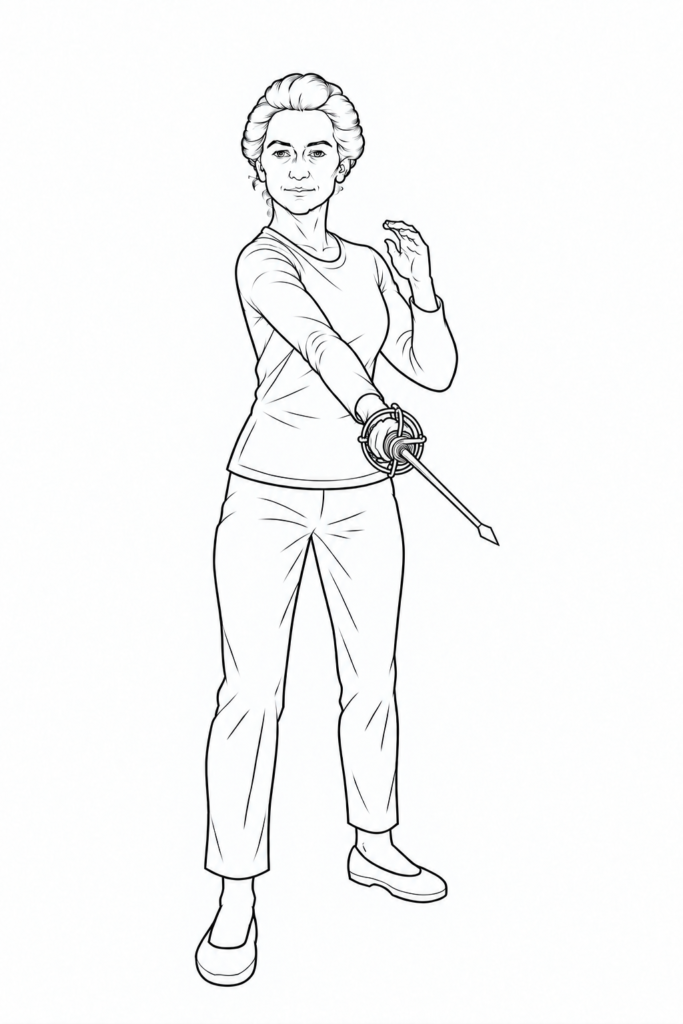
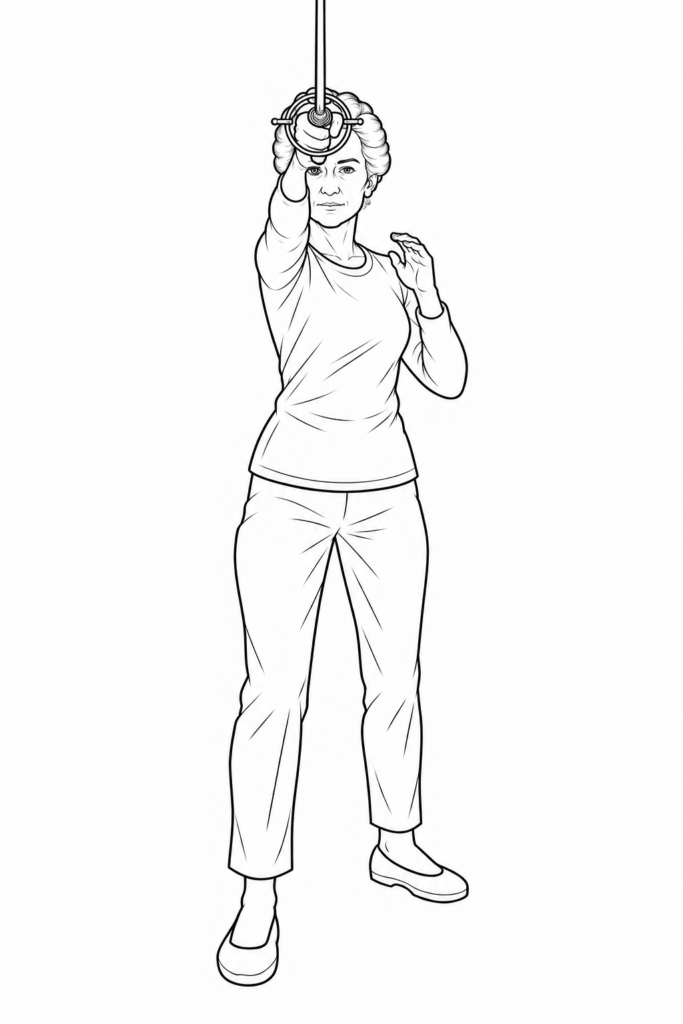
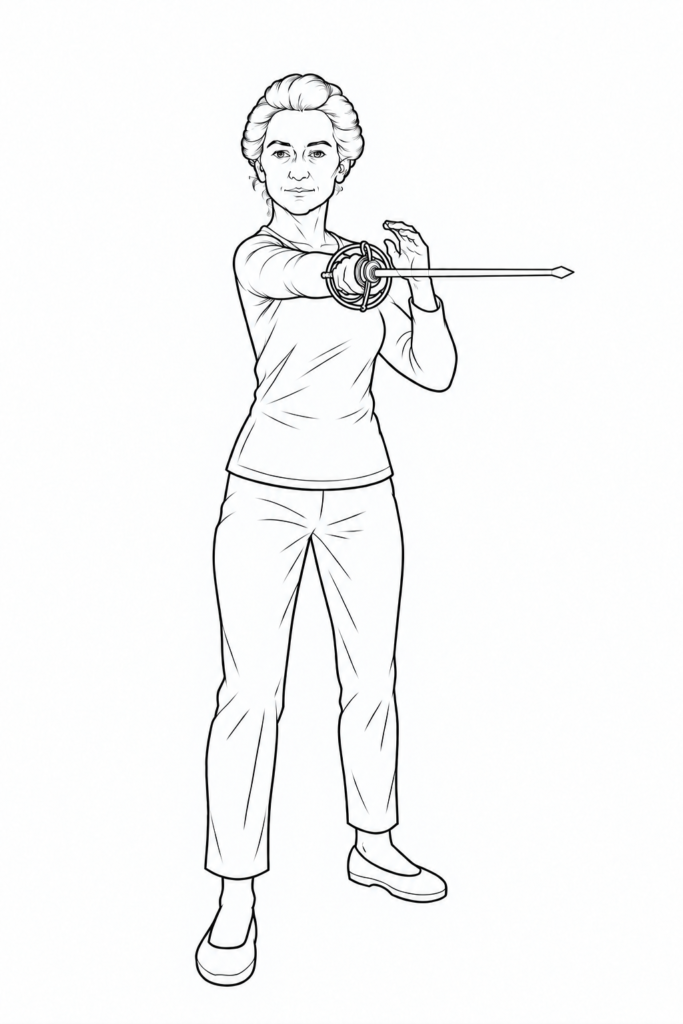
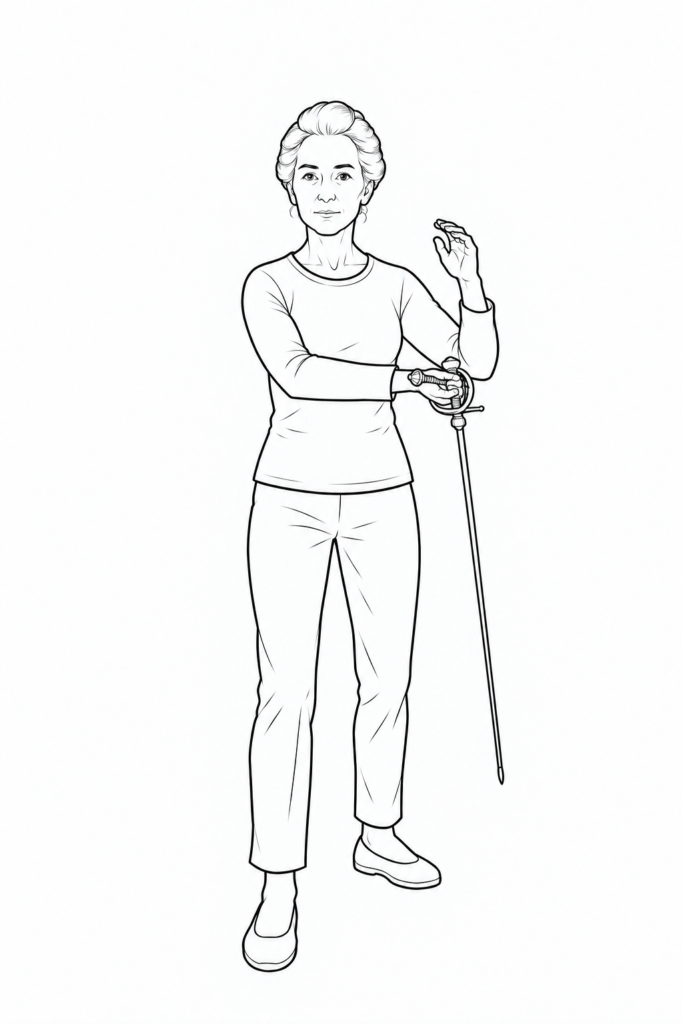
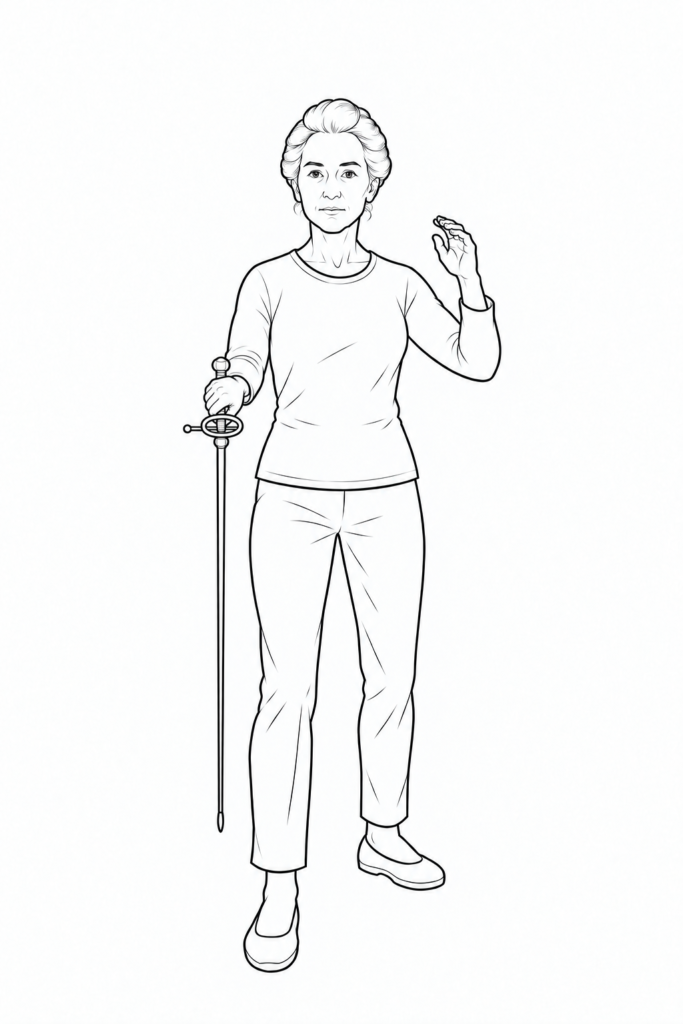
Helen’s movements can be written on the same kind of diagram:
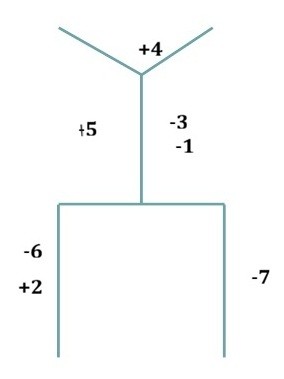
The two diagrams are complementary. Every attack on one diagram has a matching defense on the other, and left and right reverse because the partners face one another.
Now let’s put both sequences together. You are represented by Marcus. We will stand behind him, so that we see his back while Helen faces him:
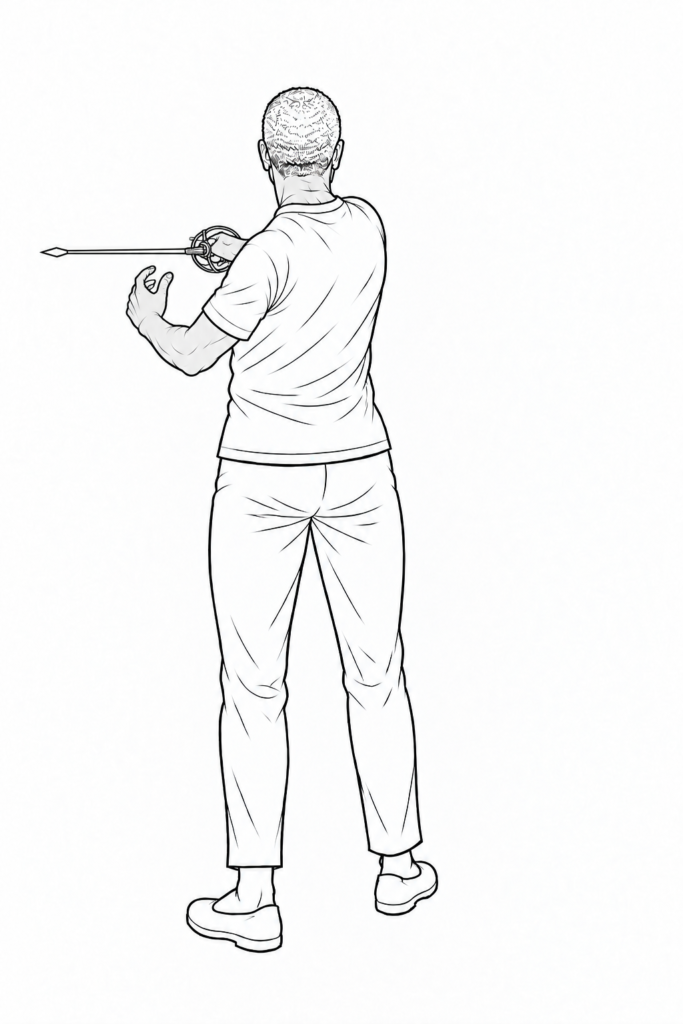
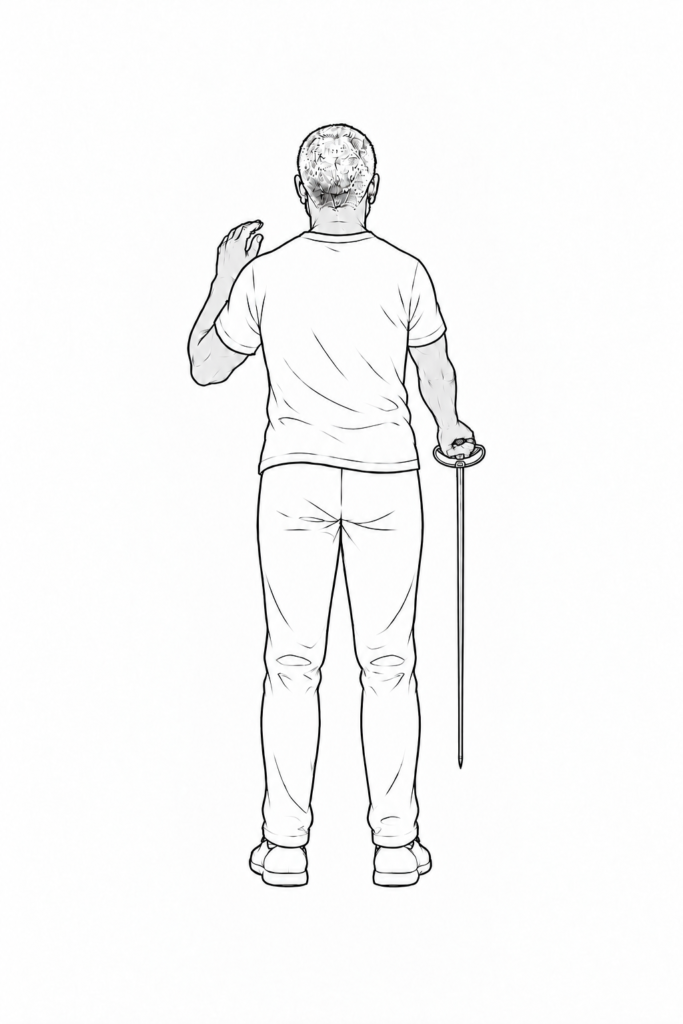
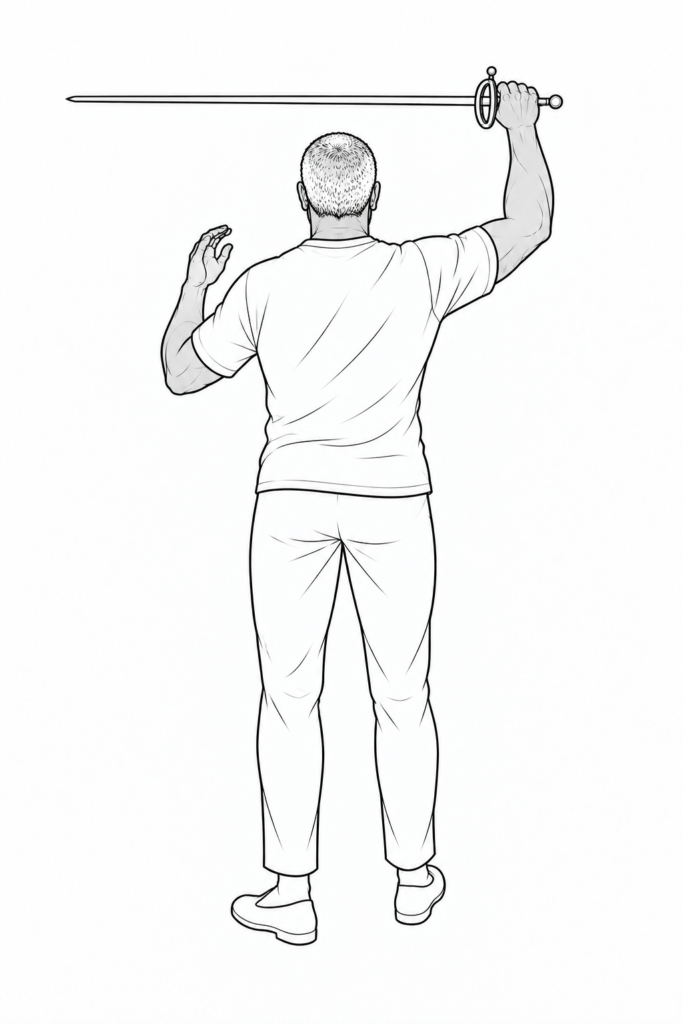
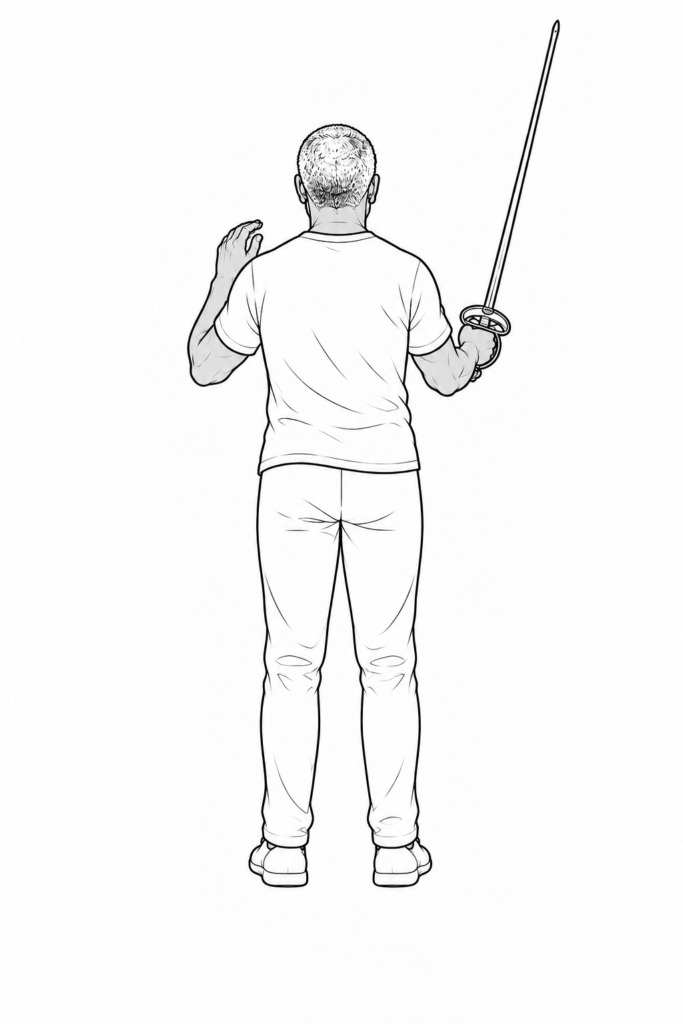
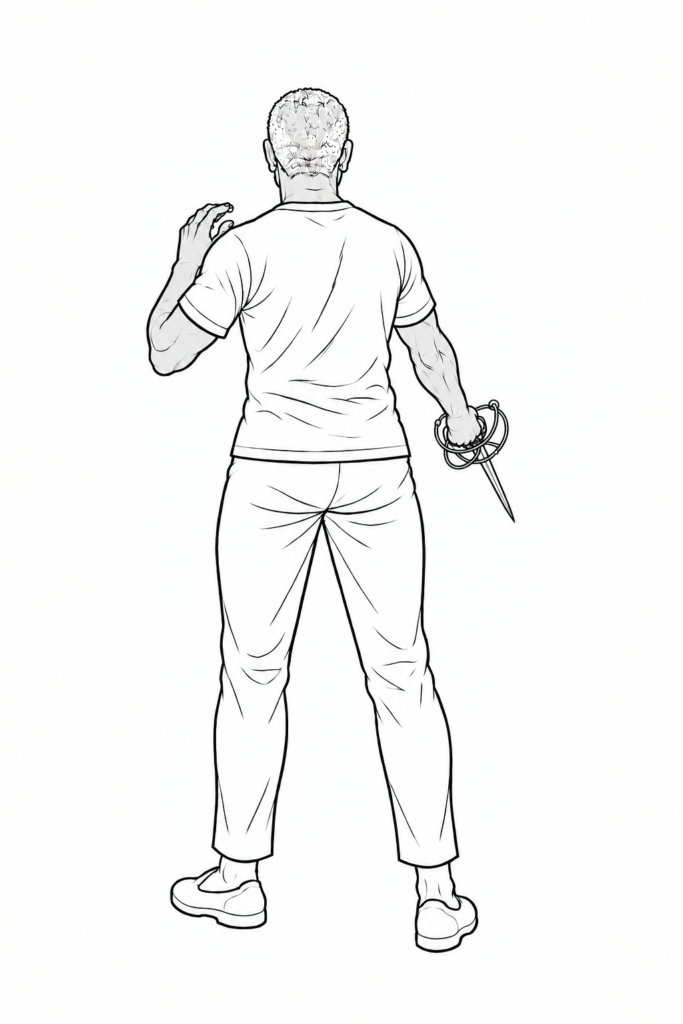
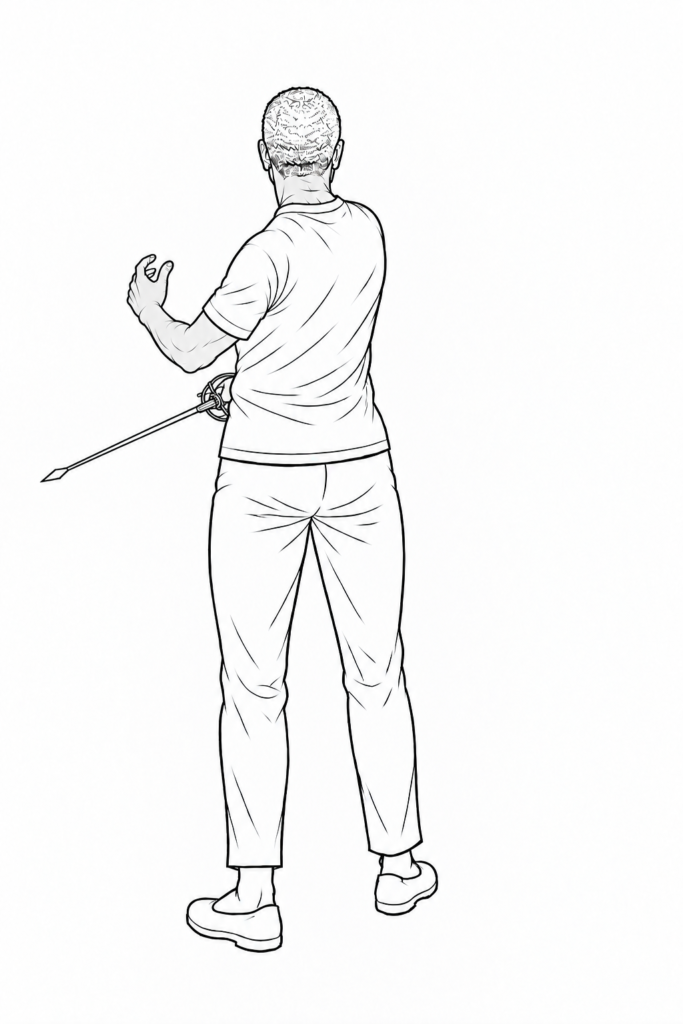
The exact targeting is slightly exaggerated in a few drawings so that each line remains easy to distinguish, but the sequence and the relationship between the partners should now be clear. You can visualize most of the fight simply by following the diagram:
What’s really great about this is that two actors can practice the hand movements without their partner being present, even without swords in their hands, and still memorize what is the hardest part of the fight – the sequence of attacks and defenses. I usually provide my actors with the written notation of the fight on the first rehearsal, and even with complete novices they are able to read, understand, and replicate the entire fight within 30 minutes of instruction.
- Compound Attacks
- Dégagé
- Coupé
- Doublé
- Three prises de fer:
- croisé,
- bind,
- enveloppement
- Slashes:
- head,
- stomach
- diagonal in each direction
But what about the foot movement? What about the palm being prone or supine? What about cuts vs thrusts? There are some fight directors who need to have every body movement transcribed, but the actors don’t need all of that information on the diagram. They’ll pick up the foot movement and the fine tuning of the sword movements very quickly in the course of teaching them the choreography, just as they pick up intention and emotional response in the course of rehearsing their acting. If the actor needs a reminder here and there that a certain move must be a thrust rather than a cut, then he will make his own notation of a “t” rather than a “c” next to the number.
When I hand out the printed choreography to the actors, I’ll usually add a written description of each move next to the diagram as a record of what the moves are supposed to be. That way if there is a question and I’m not there they can simply go to the master instruction list. But I try to keep the diagram itself as clear and simple as possible. The actors need to memorize the fight first before they can feel comfortable enough to add anything approaching finesse. From what I’ve seen, using this diagrammatic notation is the easiest way to do so.